DIY Pantry Renovation

DIY Pantry Renovation

My pantry wasn't bad before but, if you have ever had wire shelves you understand how difficult it is to keep them 1. organized and 2. items even standing up. Things are always tipping over and it's impossible to see what is behind an item so we ended up wasting a lot of food just from forgetting what we had.


To start this renovation we have to remove everything


We removed the wire shelves and patched any holes that would not be covered in the end.


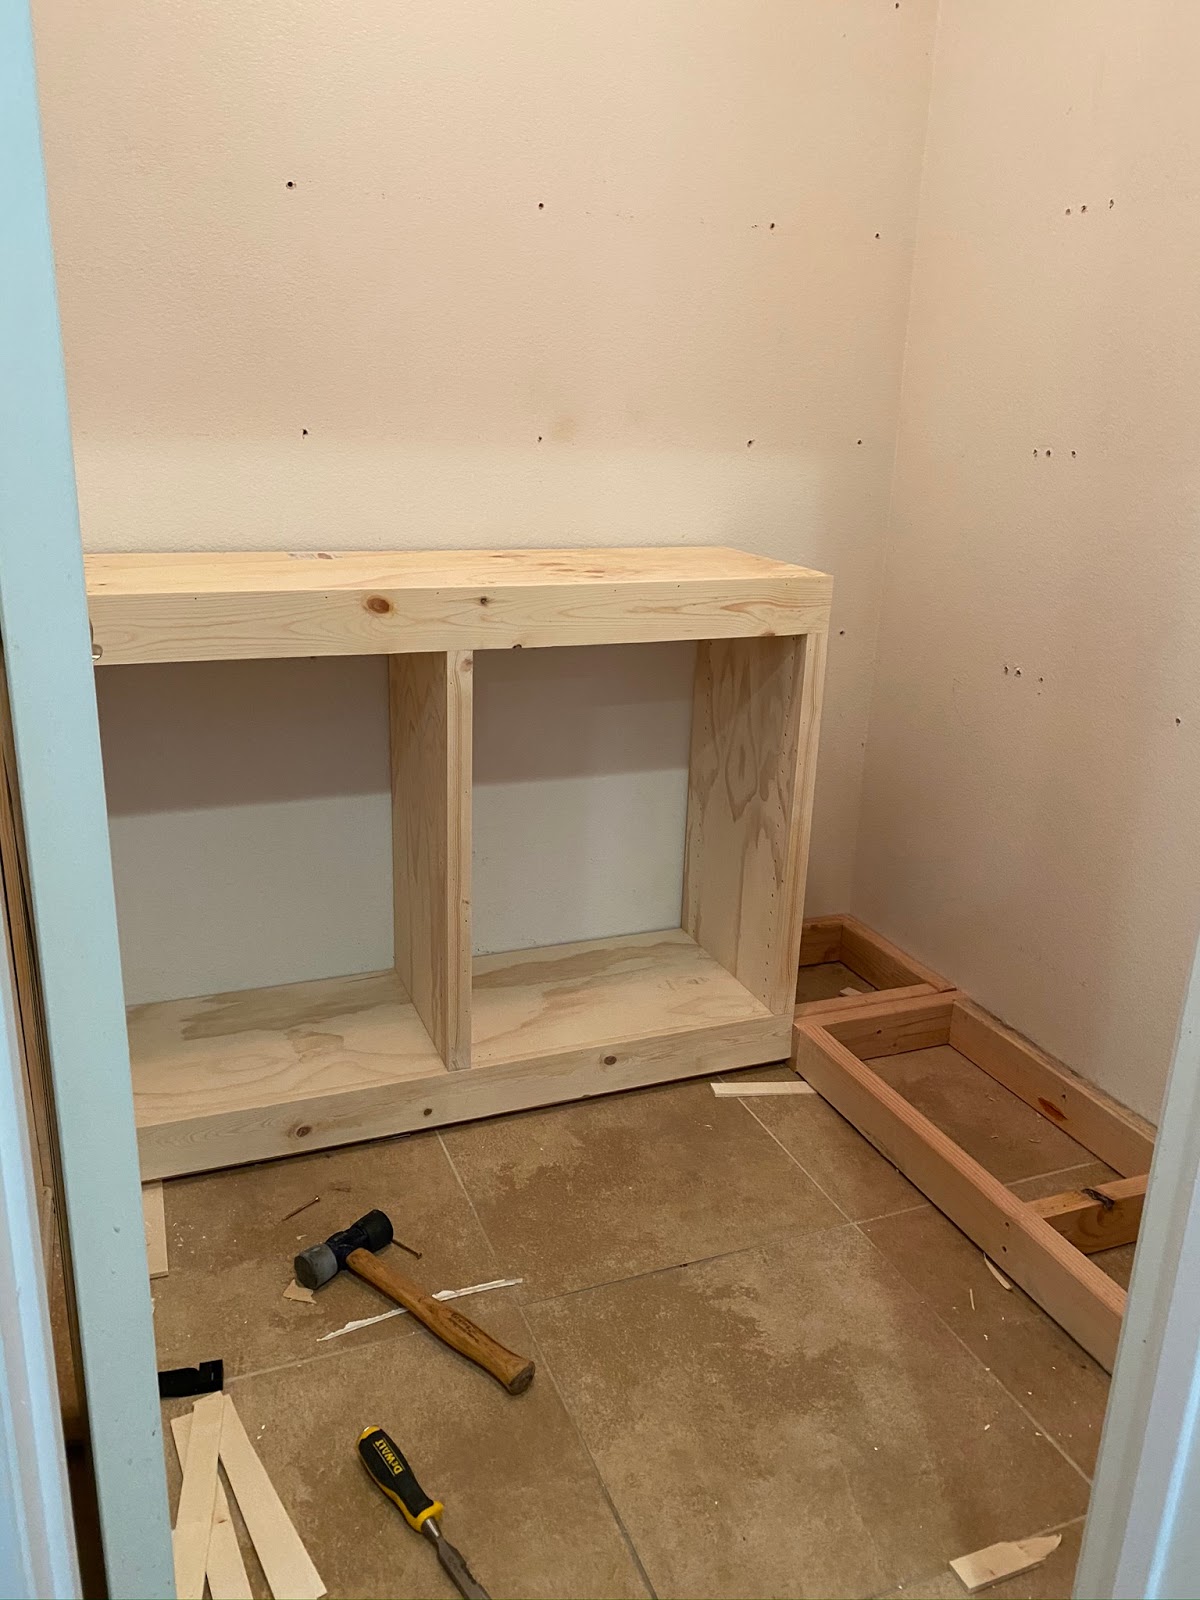
To start the cabinet build we built a base for them to sit on, we made sure it was level to make the cabinet install that much easier. This was made with 2x4's

Next we started making floating shelves:
using 2x4s we created a frame that attached to studs in multiple locations


we used 3/4 inch plywood on the top of these frames and 1/4 inch plywood on the underneath or bottom


My husband built the cabinets out of 3/4 inch plywood and select pine to trim out front of them


I primed everything and did two coats of paint (pure white)


We used faux brick panels from The Home Depot to create a unique "backsplash" that I used spackle to german smear it


We used butcher block as the counter


And added gas pipes to be used to hold a ladder


Our pantry is 5x5 with 9 8 foot ceilings, we measured our containers and larger items we typically have on hand and spaced the 3 shelves out by those measurements. The bottom shelf has the most space for the tall items, for the counter to shelf space we measured my Kitchen aid mixer to make sure it would fit.
 |

and for the cabinet shelves we made those adjustable so we would be able to change those as we needed
For more on this build visit my Instagram

The coolest thing was getting shared by Good Housekeeping! Definitely something any DIY or Decorator can have a dream of, I guess I can say it has the Good Housekeeping seal of approval?!


This comment has been removed by the author.
ReplyDelete