Camp Killian | First Birthday
Welcome to Camp Killian | Killian's First Birthday

Kids birthday parties are not cheap, let’s just be blunt about it. So one thing I do is theme them around decor I will be able to re use in my home (if possible). My sons room is forest/adventure themed so a camping themed First birthday was what are doing! Also, his birthday is the end of June and I thought a summer camp would just so fun to create. I knew I could use pieces from his room and then add other decor I bought for the party. We ended up making most of his decorations and it was not an easy task but, it was so worth it! He is almost 3 now and I’m finally putting this post together (I’m the worst) and going through all the photos just reminds me how much work we put into each item we made. This is still my favorite theme and party to date!


One of my favorite things we did was ordering custom Camp Counselor t-shirts from CustomInk.com, if I had a Cricut then I would’ve made them myself. We still wear these shirts to this day and I just love them so much! Of course Killy had his own shirt too which was ordered through Etsy. Scott made the National Forest and Camp Killian sign by hand (again no Cricut yet). We printed the letters and traced them over painters tape, which the boards where covered in, and used a razor blade to cut out each letter. Yes, it was a lot of work and Scotts hands are probably still recovering from this one! Both these signs are in house today, the National Park is in our entry way and the Camp Killian one is hanging in his room.


We had marker signs all around the yard, at the fishing hole/water tables, a trail marker on the pathway, campfire near the fire pit, camping near the tents, picnic at the tables, food inside at the food tables, etc. To make these I ordered the signs from amazon and we painted fence post and used a jigsaw and some scrap wood to match the rounded corners. We simply used a staple gun to attach the sign to the board. I had his milestone board made on Etsy and the little wood signs are from the dollar section at Target.


The tents were made from 3/4 plywood and a dowl; the fabric is from Hobby Lobby. I made the banner by getting jute string, the little bear, and a pack of burlap pendants from, again, Hobby Lobby (it was around $10 for all of it) I still have a lot of the string and pendants for future use. I printed out the letters on regular printer paper and glued them on. Easy. This lasted hanging in his room for a year and half until he decided to pull it down and pick all the letters off during nap time...


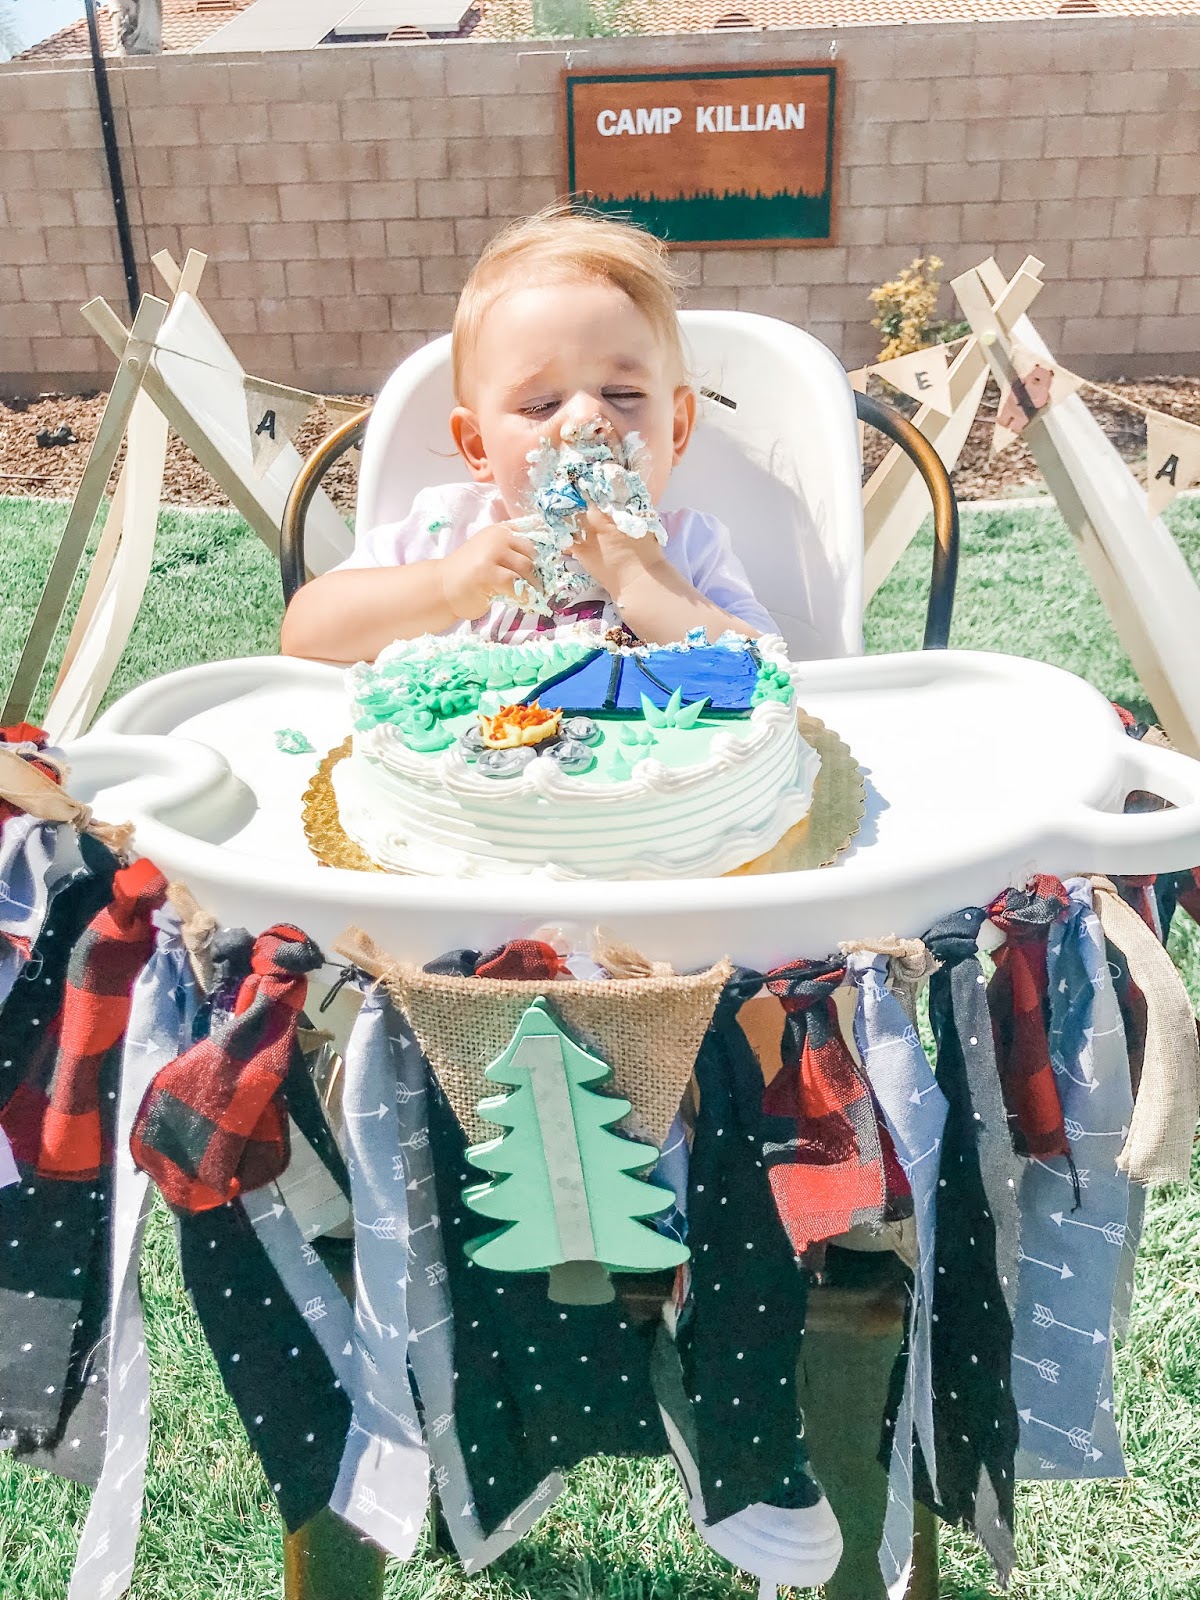
This little fabric banner was made with leftover fabric from his high chair banner. Huge money saving tip ask your local grocery store if they do free smash cakes. Yup you heard me..FREE! Our grocery store, Stater Brothers, will do a free smash cake for a first birthday with purchase of a cake or cupcakes. I was able to talk to my baker about a week before his birthday to see if she could do a custom design (and not just Happy Birthday) and although they don't typically do it she was able to get it done for me so I think its worth a shot to ask. The decor pieces on the dessert table are all things from Killian's room, the little raccoon was his favorite toy so he had to come to the party too. Yes, I did paint my shelf in chalkboard paint...yes it still has this on it because chalk paint doesn't completely come off...sooo that's cool.


Your store might also do custom frostings for cupcakes if you order ahead of time, she did the fire frosting with chocolate to look like a fire pit and for the vanilla's she did a marshmallow frosting that she even toasted. I also had little s'mores baskets pre made for a quick grab on the way to the backyard.


For the food table I decided to use his Jeep walker and his camping chair as chip baskets, still one of favorite last minute decisions! I don't have photo but I also used pie tins instead of plates. I used left over plywood/dowl's from the tents and fabric to make the mini tents for the centerpieces.


I made he chair banner by cutting random lengths of fabrics and tying them around a string. I found the metal "1" and tree at Hobby Lobby and just glued them all together on one of the burlap pendants. If you haven't noticed I get a little to detail oriented when it comes to my decorations, the more things that have a detail used in another item is something I love. Burlap banner-burlap in the highchair banner, same fabric used in multiple places, big tents-mini tents. It's the little details that people may not notice but if you're able to capture in photos will make everything seem more cohesive.


Please feel free to email me or comment on this post if you have any specific questions. I would be more than happy to send more details if you're interested in doing a DIY party yourself!


Comments
Post a Comment