Toddler Room Makeover: Board & Batten ("Woodland Lichen" by Sherwin Williams)

Green Board & Batten in a Toddler Room
Color is "woodland lichen" by sherwin williams

Materials
- 1x12 for headers/baseboards (we used pre primed)
- 1x3 for batten (pre primed)
- nail gun
- caulk
- wood/nail filler
- foam rollers
- paint brush for tight areas
- paint
- primer (I use kilz all purpose)
- paint tape
- patience
- liquid nails if you choose to use it
- miter saw

Before


To start this rooms board and batten I needed to paint the upper portion of the walls first, this color is "classic grey" by Benjamin Moore. Its the perfect white/grey
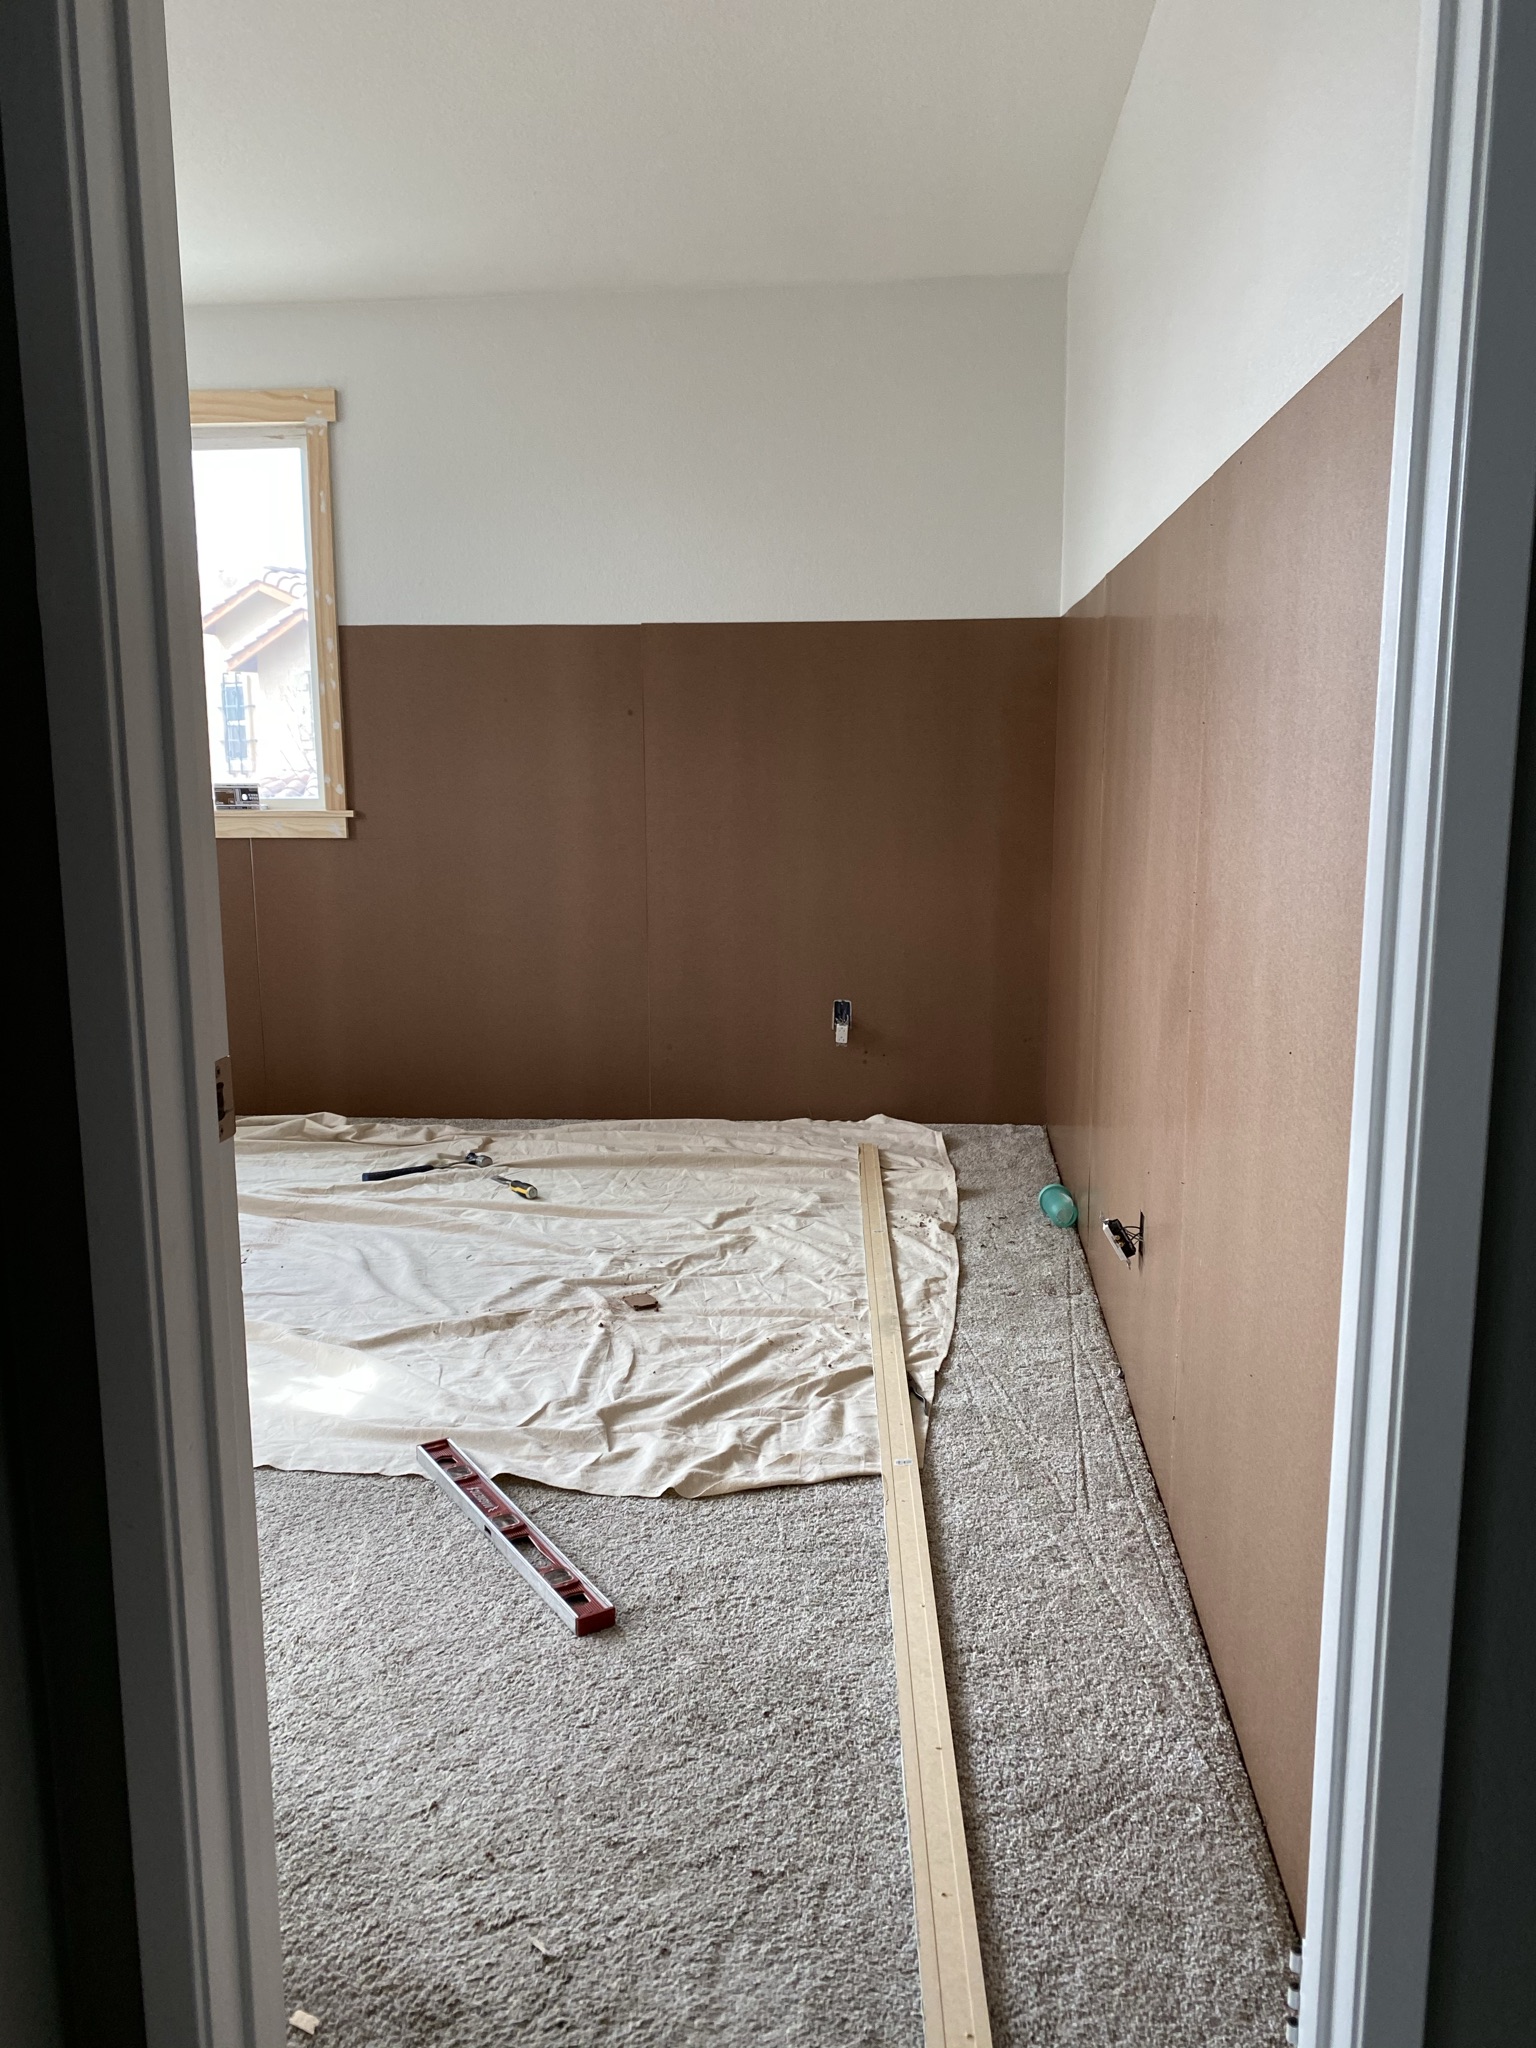
MDF Backer board VS Plywood
We used 1/8 inch backer board from The Home Depot to cover our orange peel texture walls, you can also use 1/4 inch plywood but it will require a lot of sanding and will always have a slight wood grain texture.
This was our first time using the backer board vs plywood and they both have their pros/cons:
Backer board is MDF so it is more dusty when being cut and is heavier than plywood
Plywood seemed to be easier to fill and sand back to smooth if there was a nail hole
Backer board is so smooth I'm still learning the best way to paint it without getting flashing. I will explain the steps I did but I did experience quite a bit of flashing so please do your research to see if you can find a better way to paint this (sprayer would be best option). I think my mistake was my husband did not want to use liquid nails to secure it to the wall (for the future if we decide to remove) and he did have to nail the boards on areas that are visible so I should've worked the nail filler/sanding it back to smooth better before I primed the walls and I just did not do that.
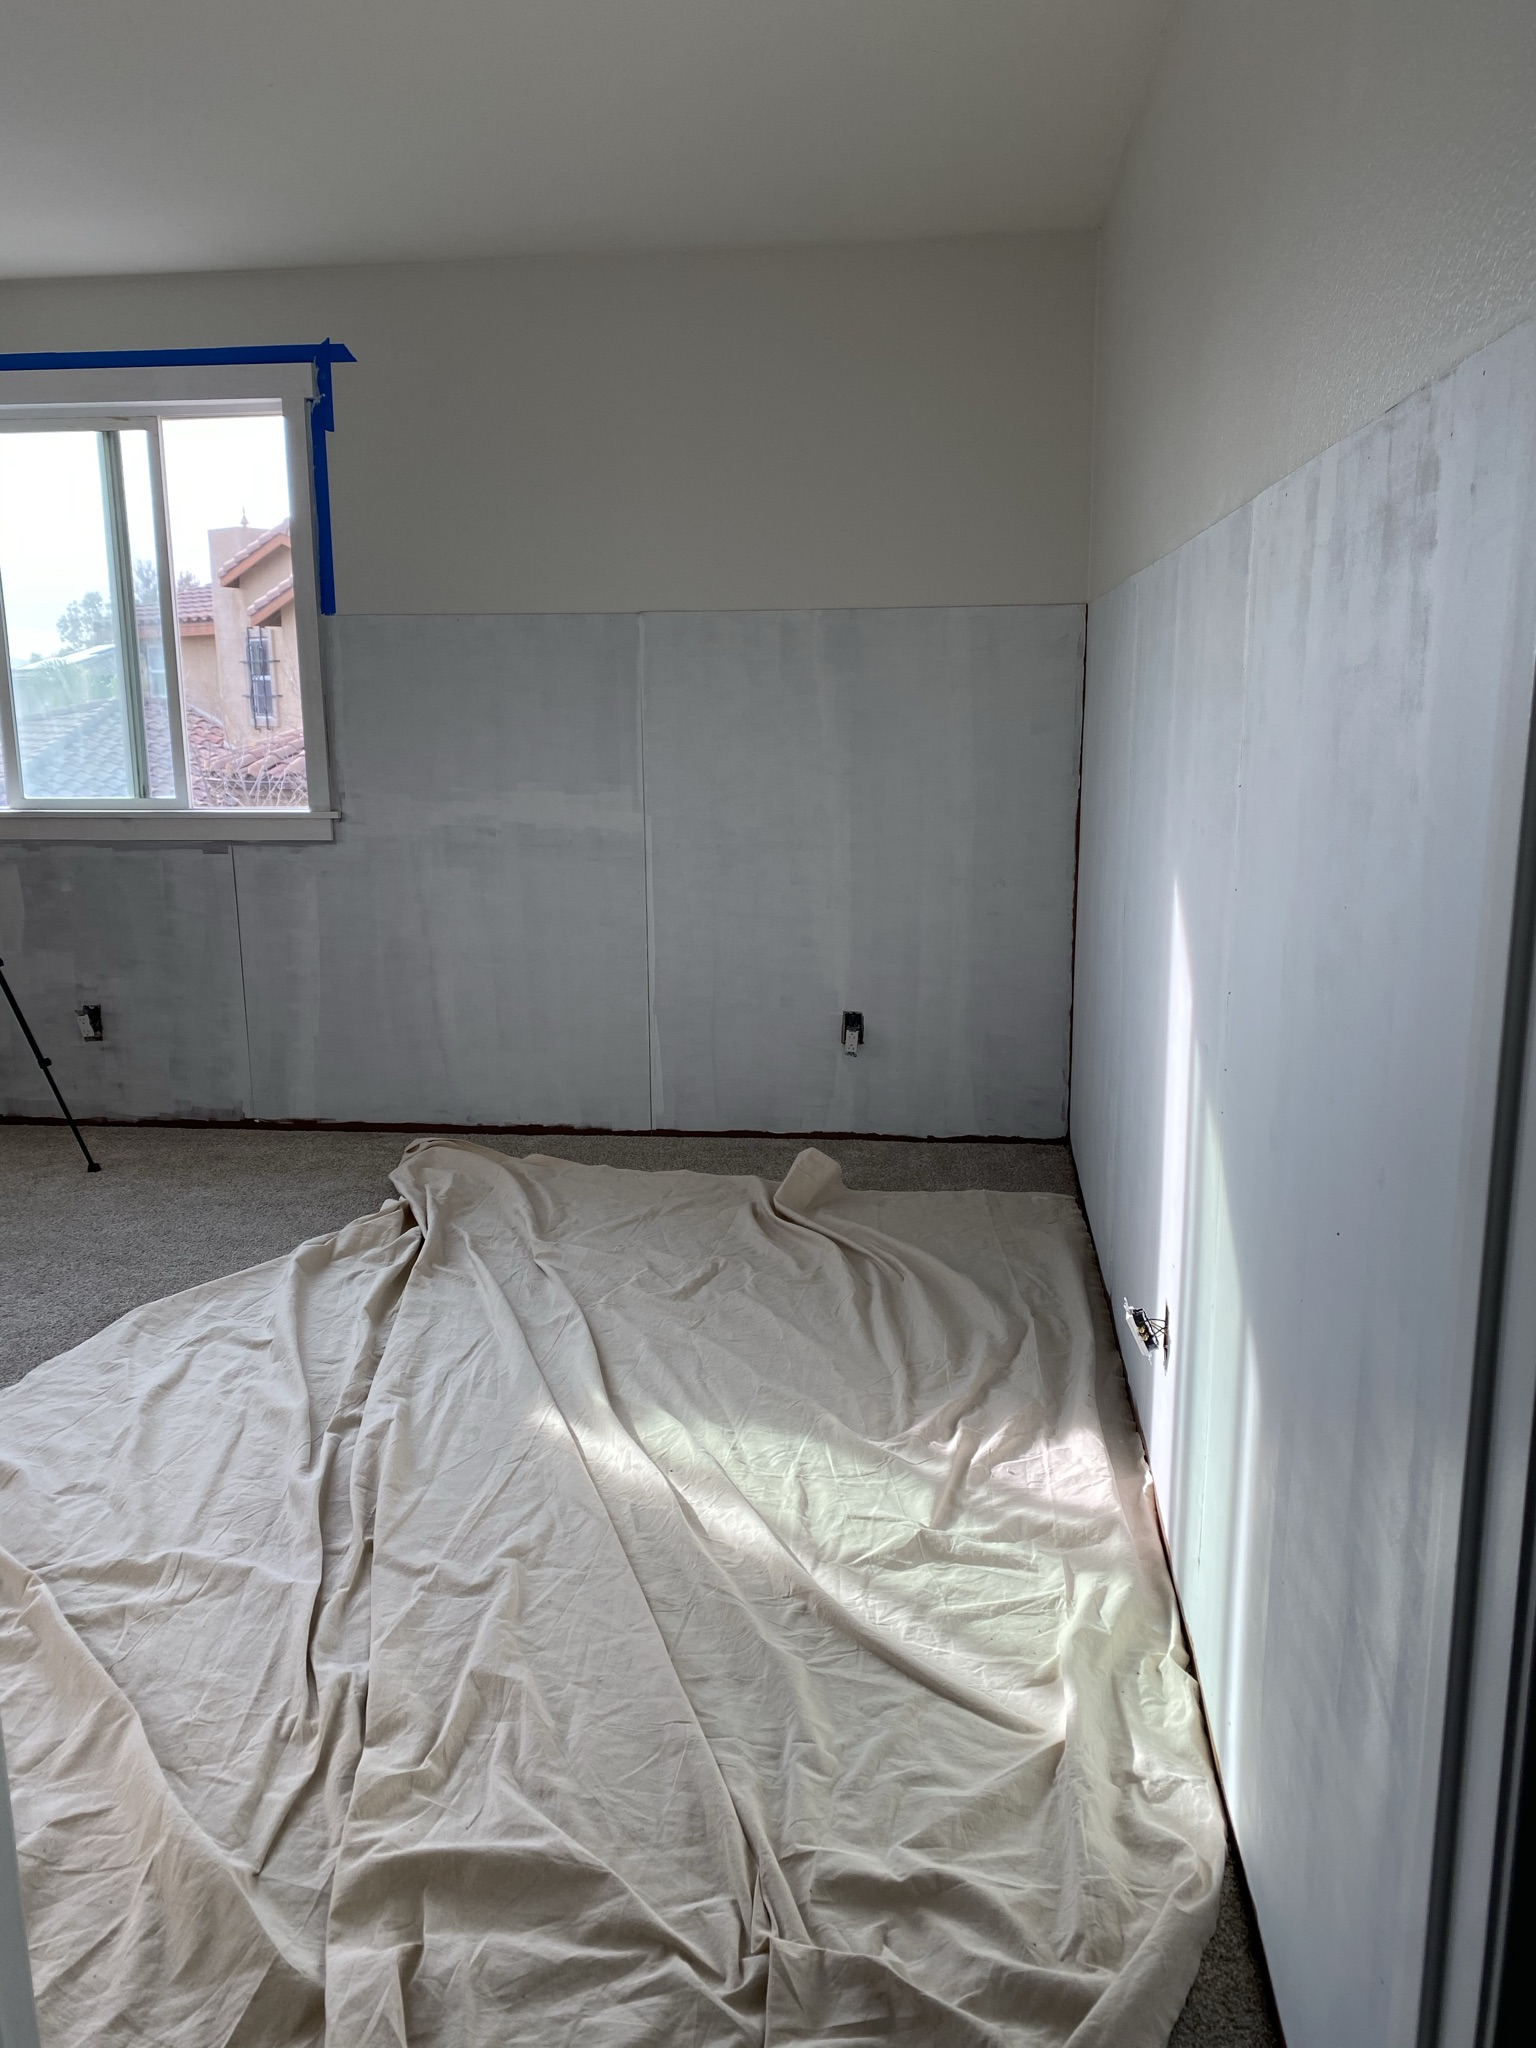
Prime the backer board
(this could be where the flashing started but again I'm just not sure, I also have seen flashing on a lot of darker color post but no one admits it or talks about it so Im hoping this will help you not have this issue too)

Next I painted one coat of paint over the backer board
(I should've painted the "batten" strips off the wall and that would've helped avoid a second coat needed on the backer board, I had to do a second coat on backer board to try to even out the coverage once I paint the strips because the only way to paint the inside was to also paint the wall portion)

Install new baseboard and header first then
Install "batten" starting on the seams which should be evenly spaced to make this easier

Then fill in the middles

We have bullnose corners so we mitered the batten pieces to create a squared corner where we needed it

Once all the batten is installed you will fill every seam that is a 90* angle (those will be caulked) & nail hole


Once the nail filler is dry you can sand it and then caulk, this is very time consuming but the most important part for a "professional" look
(caulk tip: use baby wipes to smooth the line and clean up excess caulk)


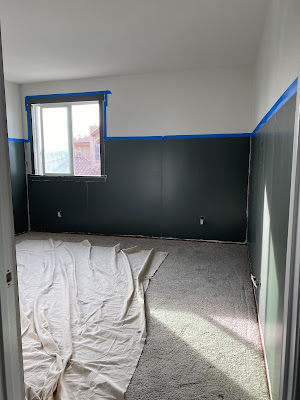
Prep for paint
I did tape every area that would not get green, upper wall, extra care at the baseboard/carpet area


I used Behr Paint/Primer in one and I definitely think I should've have used a higher quality paint with a self leveling agent

After two coats of paint on the entire project I am pleased with this project, the flashing does bother me but as I add decor I notice it less.
This green is absolutely stunning and I highly suggest it for your next moody project!
If you have any questions that I did not cover please leave me a comment or find me on Instagram and I'll gladly help you!


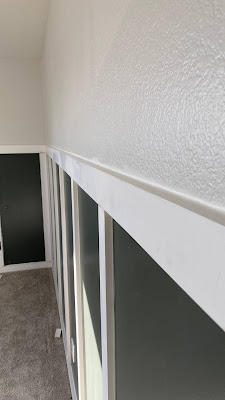
Board & Batten Next to a door

We built this built in closet first and completely forgot to account for the space needed for the door to open on top of the board & batten. Since we could not modify the closet system we just mitterd down the top trim piece to allow clearance for the door to open and you can not tell that this was actually an oops!

*Links may be affiliate links and if you choose to make a purchases through the provided link I may make a small commission, (the price is not raised but it does help me out). This in no way affects my opinion, recommendation, or review I have given. If I am using a product I will give you my honest thoughts at all times and I will not recommend anything I do not use with my family or fully love.


Comments
Post a Comment