The Laundry Room Makeover Reveal & Tour! The One Room Challenge with Better Homes and Gardens comes to and end...
The Laundry Room Makeover Reveal! The One Room Challenge with Better Homes and Gardens comes to and end...
Welcome to the new laundry room...

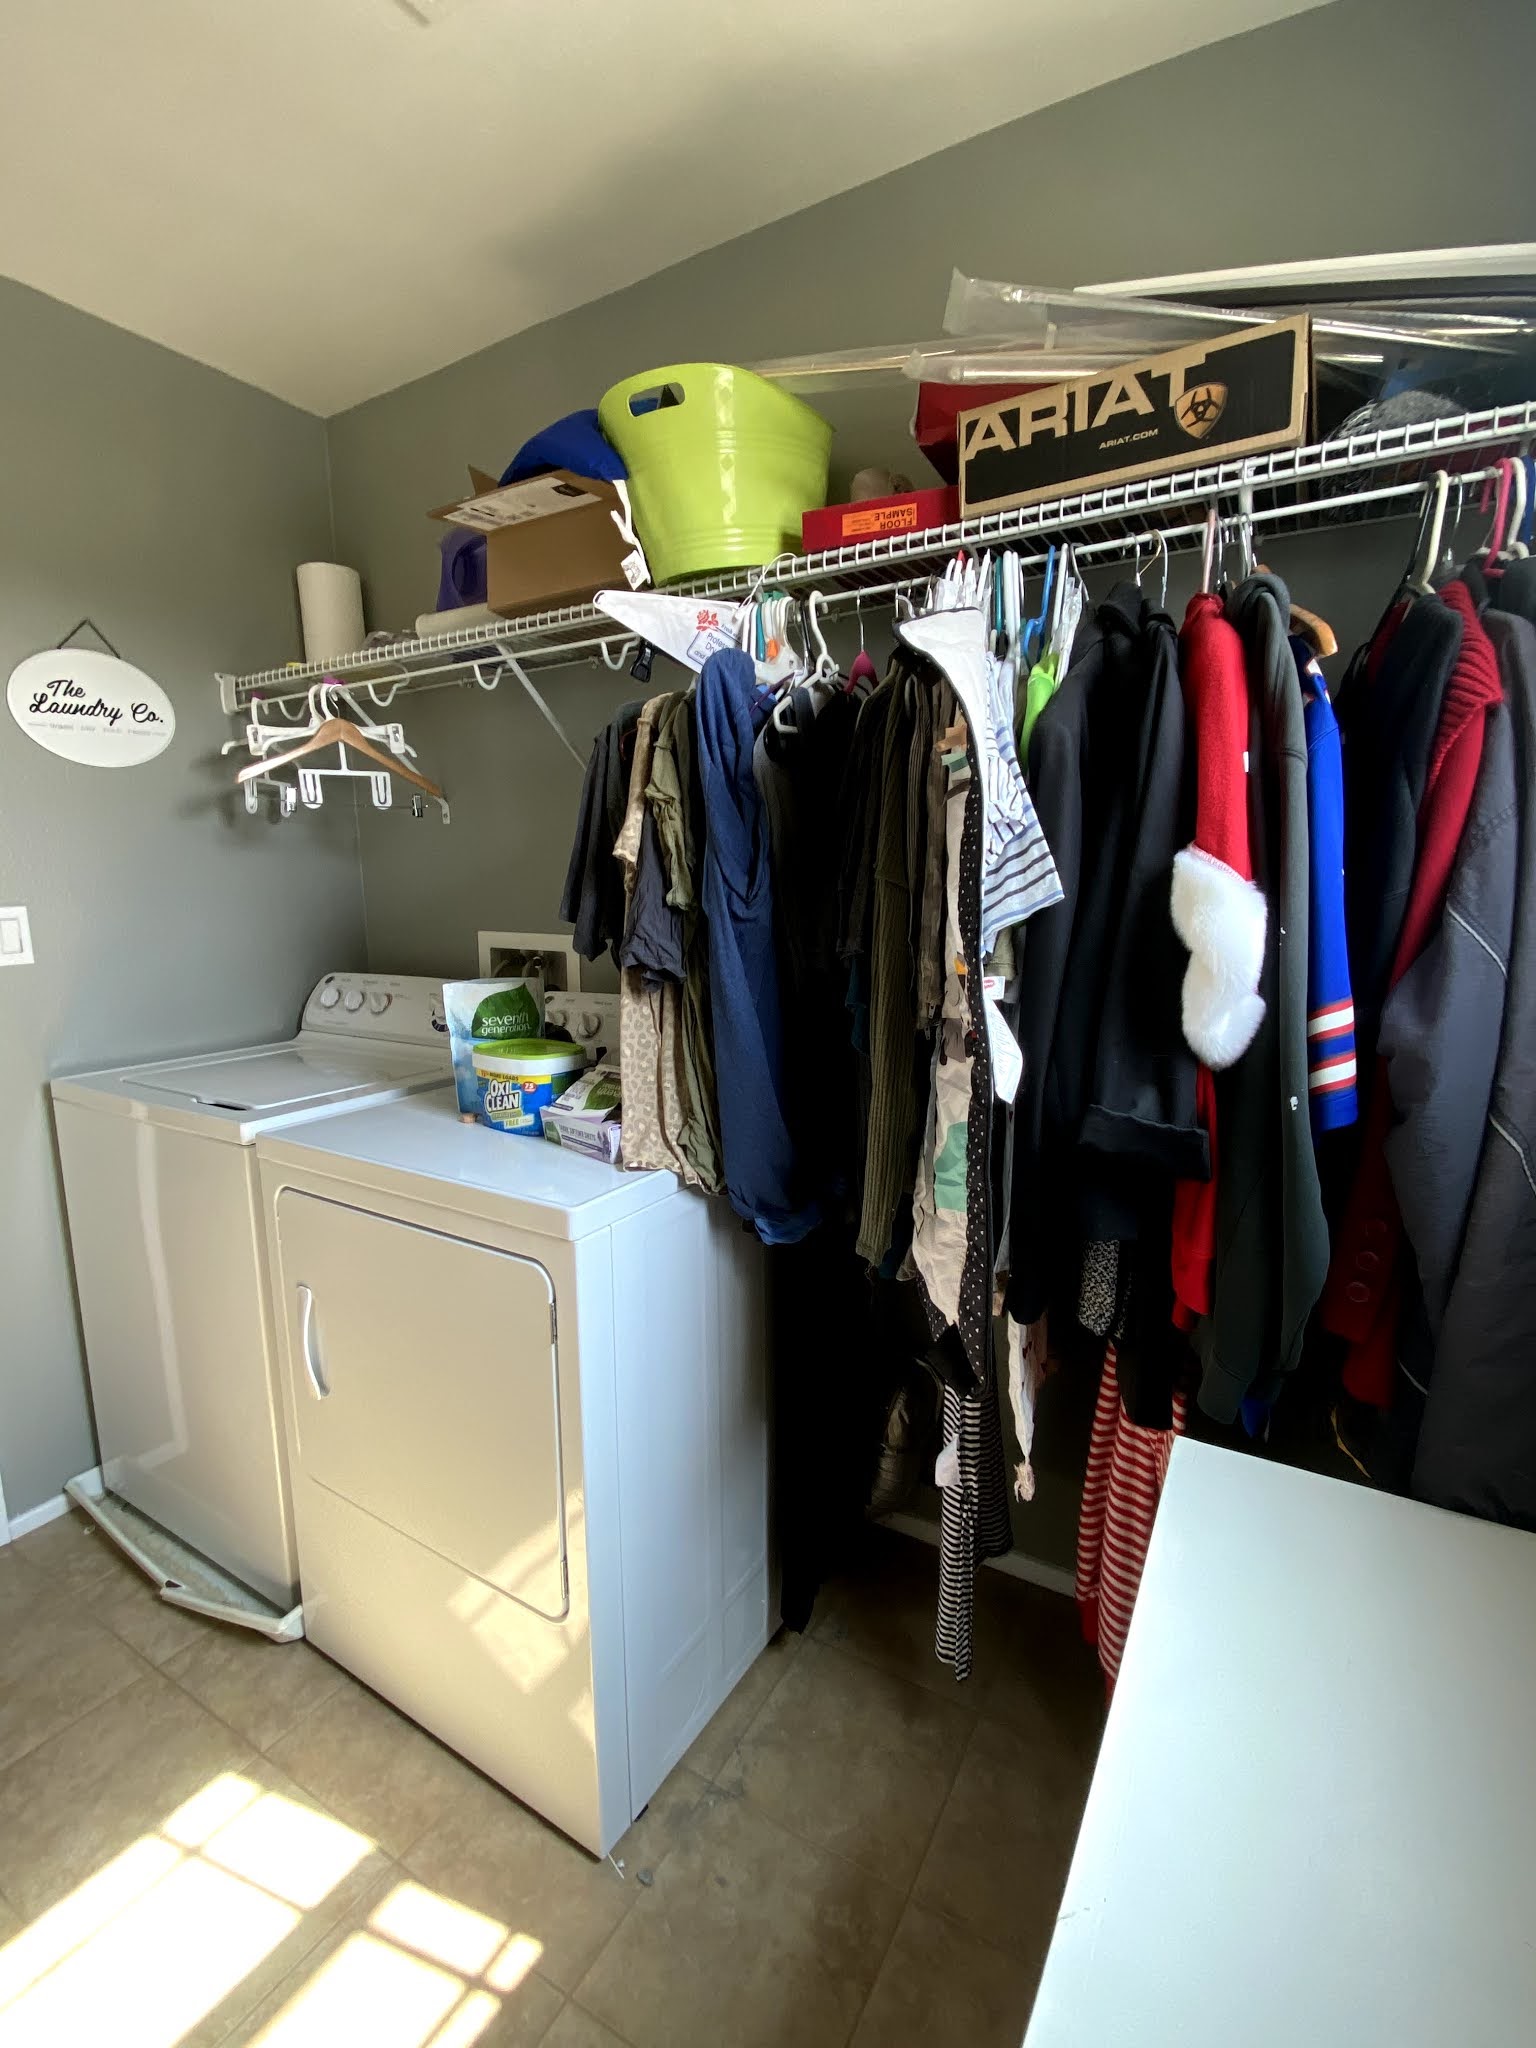
This is what we started with, a cluttered dungeon.

( For more before/after comparisons head to end of the post!)
All items I used in the makeover are linked throughout this post next to the corresponding photo.
My goal with this room was to make a happy space that I would actually want to do laundry in. I think I achieved that considering I haven’t stopped doing laundry since we started this project.
Washer/Dryer Decor & Shelves

I wanted to keep clutter to a minimal but still have everything I need in arms reach to do a load of laundry. With two toddlers and a baby on the way you can imagine how much I use this space and that I do need it to be an efficient area of my home.

Dryer balls with essential oil is what I use in the dryer for both my sons clothing and our towels; by putting them into a basket with some decorative towels it's an easy way to keep these organized but it adds some much needed texture to this room.

My husband built the upper shelf simply by cutting a 2x10 down to size, sanded, and I white washed the wood. The brackets are from amazon: Shelf Brackets
The shelf that covers the dead space over the washer/dryer is a 1x8 that we treated the same way as the upper shelf and used pocket holes underneath to attach to wall and then screwed it in from the inside of the cabinet as well. To hide the space between the wall and washer we just added another board to give the shelf a table type feel.

For my dryer sheets I knew I wanted something to hide them and this tissue holder is perfect and easy.
Get your own Tissue Holder to hide your dryer sheets!

For the top shelf decor I went with items I do not need to use in this room since I can not reach them anyways. Some simple decor from the Target dollar section and some rolled towels was the perfect choice!

The wallpaper wall is what I think really pulled it all together. The floral pattern brings in a feminine touch that this room lacked before and the colors really make it feel bright and HAPPY! I collaborated with WallBlush on this portion of the room and I cannot say enough good things about their product and company as a whole. You can watch my full review and install of the wallpaper here. They have even given me a discount code for you to use if you want to do this in your home too!
Use code CRYSTALRANSONS for 10% off!
I added some fresh eucalyptus from Trader Joe’s and it really gives this room some earthiness and smells amazing, I highly suggest adding some fresh flowers in your laundry room to really make it feel like home.

I have been wanting to incorporate jars in my laundry room since I first saw them on Pinterest but, I had nowhere to put them in my old room. These were the first items I bought for this room and they have made it so easy to have functional decor. They also hide my washer hookup box!

Folding Station

The main area I needed in this room was a place to fold clothes as well as storage. In our old room we had zero true storage so the shelf we had was covered in junk and our laundry baskets and clothing just overfilled the room. I would honestly have clothing in piles around our rooms because I didn't want to sit anywhere to fold. I knew if I had a counter I would get a load folded before it even left this room.

We built all the cabinets ourselves in order to save money and get the custom dimensions we needed. The lower cabinets are just big enough to hide laundry baskets.
The sign you see was a custom gift from Goggins Creations and she is now selling them in her shop! We created this sign together for this space and it is one of my favorite items in my home, knowing it was handmade for this room makes it even more special to me.

We found the counter on Offer Up for only $100, it is a marbled quartz and it is the perfect low maintenance counter I could have asked for. We found the exact dimensions we needed and we didn't have to do anything except install it.
You see that cabinet that sits on the counter? Is that not the most perfect solution to a dead space corner in this type of room?! Not only is it huge going from counter to ceiling we also found a drying rack that hides inside and extends out if I need more space to hang dry clothing!
 |
Next to that cabinet is a floor to ceiling broom cabinet that we were able to hide the dryer vent tube in it!
I found a little lamp from Target that really just added a cozy warmth to the counter, late night laundry sessions just feel right now.

I painted the cabinets "In your eyes" by Benjamin Moore and it's a very light blue/green. A laundry room is the best place in your home to have some fun color!

When choosing hardware I knew I wanted something different, I was looking for crystal knobs and found these and knew they would be perfect for these cabinets.

Flooring, Walls, & Final Touches

We chose a luxury vinyl plank floor for this room for the main reason being it's a floating floor so we did not have to take out our existing tile. Scott installed this in a weekend and it is holding up so well! We went with a waterproof version for obvious reasons.

A small detail that I think really adds a custom/built in look is this custom "baseboard" scott made to hide our washer overflow pan. We did buy a new one for this makeover but it still just felt cheap and I always stub my toes on the lip it has. This is such an easy way to help make this room feel custom.

Before we had dark grey walls that made this room feel like a dungeon. I knew right away I wanted to add height and brightness with a full floor to ceiling board and batten. All the walls (except the wallpaper wall) have this detail and it truly helps soften this space.
We found the new door again off offer up for $50...$50! We sanded it and gave it a fresh coat of paint and new hardware that matches the cabinet knobs.
The new light fixture is actually an outdoor light that seriously is one of the things that really made this room come to life. (yup found on offerup for $30) luckily it is also sold on amazon!

Before & After Photos


You can find in depth posts on all aspects of this transformation here based off each week of the One Room Challenge:
If there is something I missed or you would like more details on anything in this room from building your own cabinets to paint please leave me a comment or reach out to me on Instagram and I will be more than happy to help you!
You can save all these pictures to you Pinterest board by clicking here .
Make sure you check out all the rooms transformed over the past 6 weeks by some amazing designers!
I want to thank The One Room Challenge and Better Homes and Gardens for this opportunity and I hope to come back in the Spring as a Featured Designer! If you want to see this happen please share my post on Instagram!


What a pleasant laundry room! Bravo! Cheers to a great challenge!
ReplyDeleteThe whole room turned out so lovely - my favorite touch is that pull out drying bar...such a good idea
ReplyDeletewow that came out amazing! Can you come make over mine?!?! ���� Love it! - Sienna
ReplyDelete